AKVIS PhotoBook program is designed to create colorful photo albums and photo books.
Follow the steps below:
-
Step 1. Create a new album by clicking
 in the Control Panel or open an existing project (a .photobook file) with
  .
.
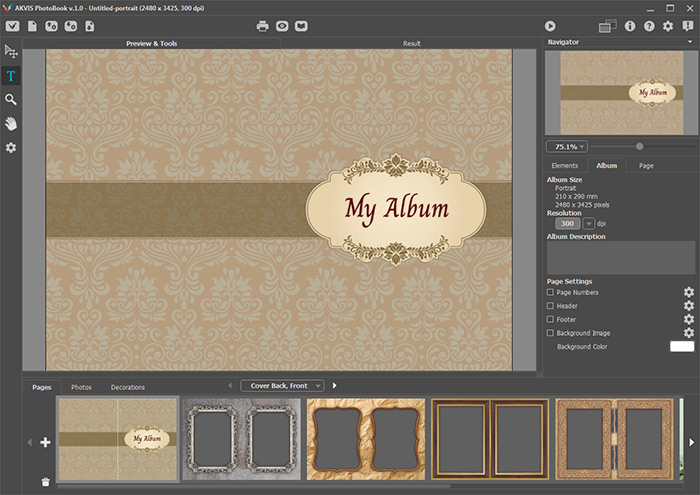 PhotoBook Window
Note: When working with additional themes, you need to activate each theme with its license number. Only after that, the albums included in the theme will become available for use. Learn how to activate the themes.
-
Step 2. Open the photos you want to add to your photo album pages. To do this, in the Design Panel switch to the Photos tab, and click
 to load a folder with photos into the program or click
  to select images.
-
Step 3. Move the photo into the hole on the album page with the mouse. After that, the photo in the list will be marked with a "✔". You can change the position of a photo on the page, scale or rotate it using the Transform tool
 .
.
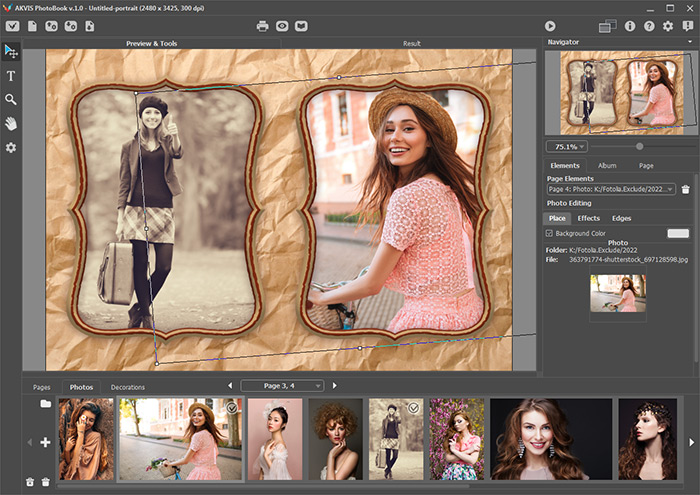
You can adjust the photo using the image editing options in Settings Panel: Elements -> Photo Editing -> Effects/Edges.
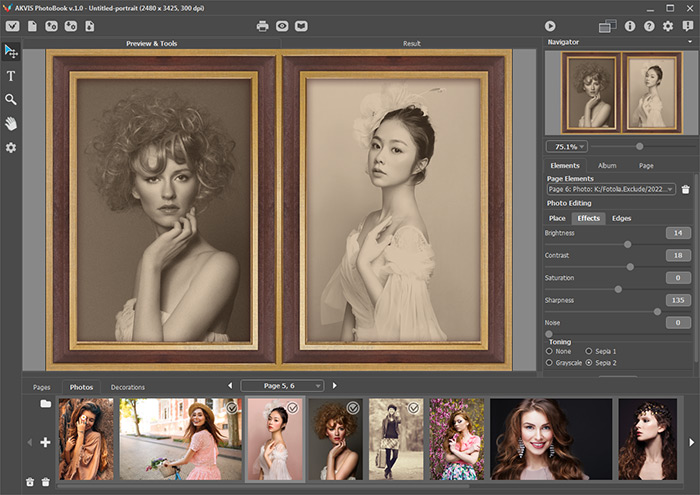
In the Elements tab, it's possible to change the background color for the holes under photos. To do this:
- In the Page Elements drop-down list, select the required item (for example, id = 6).
- Then, in the Place tab, enable the Background Color check-box and click the color plate to call the color selection dialog.
-
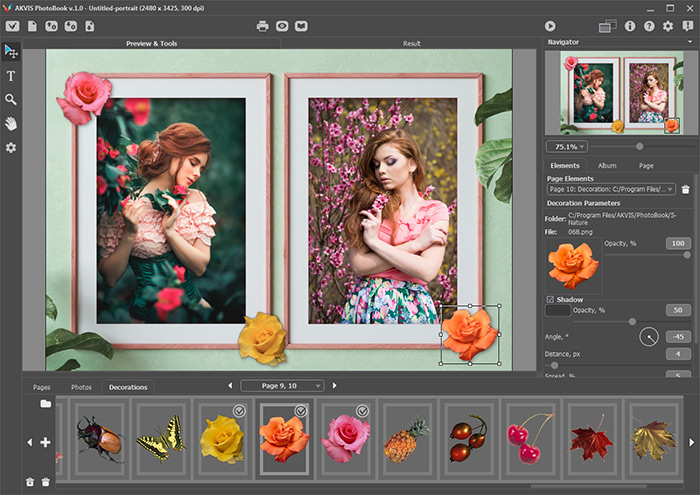
Step 4. The Decorations tab displays clipart elements that can be added to album pages. To add a decoration, drag it into the album page with the mouse.
Adjust the position of the design element on the page, scale or rotate it using the Transform tool
 .
.
For the selected decoration, you can change the Opacity and add the Shadow effect.
-
Step 5. Add a caption or an inscription to the page using the Text tool
 .
.
You can change the appearance of the added inscription using the text options in the Settings Panel. Also, it's possible to use the markers on the frame around the text block or the tool
 to resize or rotate the text.
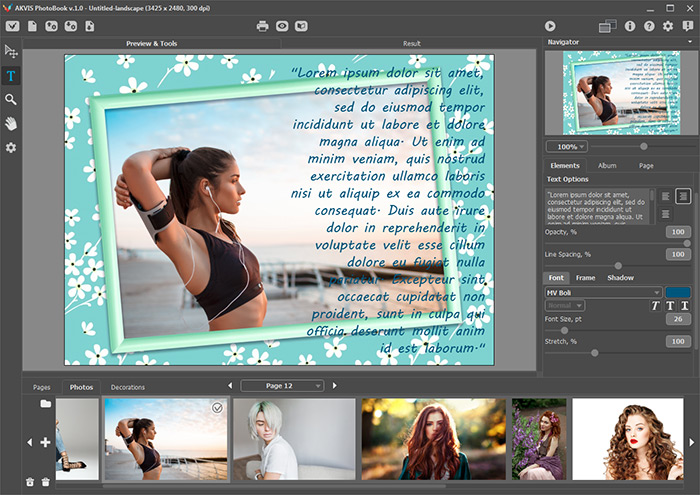
-
Step 6. In the Elements window, called by
 in the Toolbar, there is a list of all elements added to the page: photos, decorations, inscriptions.
Double-clicking the element to select the item to adjust. You can change the order of elements on the page using these buttons:
 and
and  . The position of the photo in the list cannot be changed.
Delete the selected element with
 or by dragging it from the page down to the Design Panel.
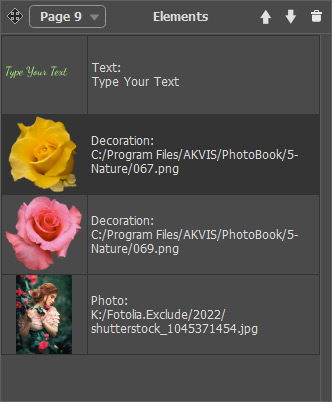
You can also select a design element for customization in the Elements drop-down list on the Settings Panel.
-
Step 7. Click
 to start the processing of the entire page spread. The result will be shown in the Result tab.
-
Step 8. You can print the selected page/spread by clicking
 .
.
- Step 9. Switch to the next page/spread using the drop-down list under the Image Window or using the arrow buttons.
-
Step 10. You can save the project in order to continue working on it in the future: click
 , enter the file name, and select a folder where you want to save it. All pages of the album, all added photos, design elements and inscriptions will be saved.
To save a result, click
 and choose one of the options:
- Save Page As Image;
- Save All Pages As Images;
- Save All As A Multiple-Page PDF.
