No momento, a página não está disponível em português. Será traduzido em breve. Pedimos desculpas pela inconveniência!
AKVIS PhotoBook allows you to create a family photo album or a photo book.
You can run the program in the following ways:
On a Windows computer:
- select it from the Start menu or use the program's shortcut on the desktop;
On a Mac computer:
- from the Application folder.
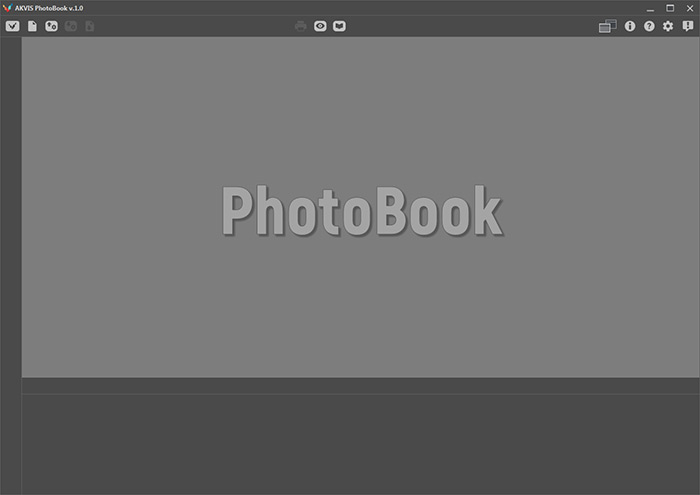
Right after the launch of the program, its workspace looks like this:
 Start Workspace
PhotoBook Window Elements:
At the top of the program's window there is a Control Panel with the following buttons:
 - The button allows you to go to the home page of the AKVIS PhotoBook program.
 - The button allows you to create a new album. Hotkeys are Ctrl+N in Windows, ⌘+N in Mac.
 - The button allows you to open a previously saved project (a file in the .photobook format). Hotkeys are Ctrl+O in Windows, ⌘+O in Mac.
Right mouse click on this icon displays the list of recent PhotoBook projects. Adjust the number of the recent projects in the Preferences.
 - The button allows you to save a project (as a .photobook file). Hotkeys are Ctrl+S in Windows, ⌘+S in Mac.
 - The button allows you to save photo album pages as images or a PDF file.
 - The button allows you to print the selected page/spread. Hotkeys are Ctrl+P in Windows, ⌘+P in Mac.
 /
/ - The button allows you to hide/show the bottom panel of the program (Design Panel).
 /
/ - The button allows you to switch between view modes: single page/two pages (spread).
 - The button starts the processing of the selected page/spread.
 - The button brings up the Theme Manager.
 - The button shows information about PhotoBook (version, license, etc.) and allows you to activate the program.
 - The button opens the online tutorial for the program. Hotkey is F1.
 - The button opens the Preferences dialog box.
 - The button displays a panel with the latest news about the program.
Click  to choose one of the album design options for the selected theme:
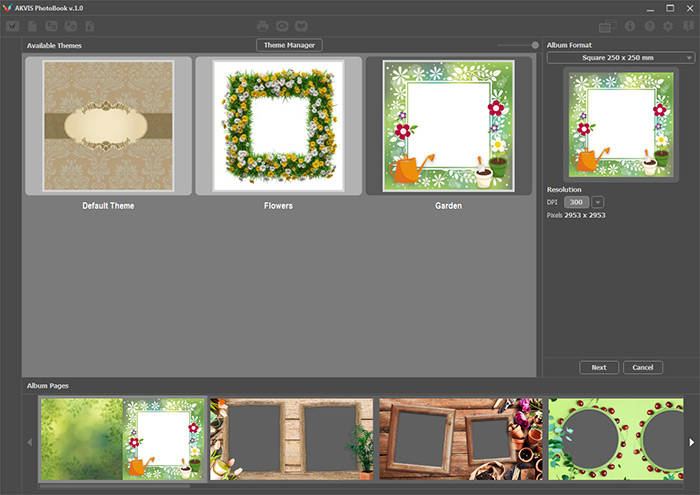
 Album Creating
The central area of the program displays all available themes as thumbnails. When you select one of the theme, thumbnails of the pages will be displayed at the bottom panel.
To add a new theme, click the Theme Manager button.
In the right panel, you can set the size and format of the album: portrait (vertical), landscape (horizontal), or square. Here you can also set the final resolution for the pages.
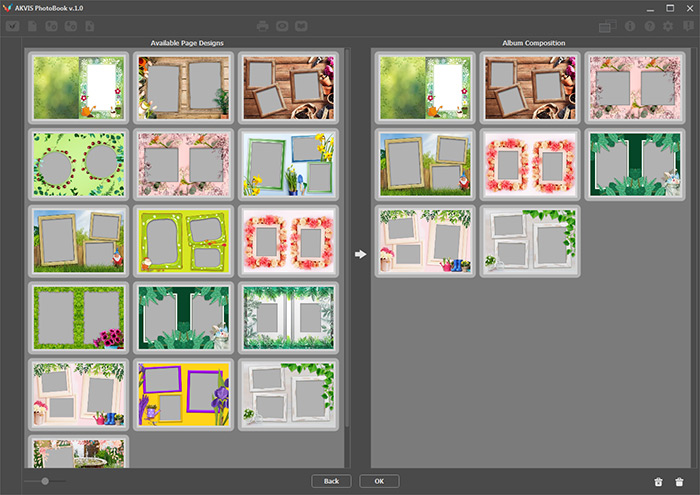
Click Next to open a window where you can set the number and order of the album pages. The left side displays all pages available in the theme, the right side - the selected pages for the album. Click  to add the selected page spread to the album.
 Adding Pages
Click OK to create a new album and start to arrange photos.
After selecting a photo album template, the workspace of the program will look like this:
 Working with Album
The central part of the program is occupied by the Image Window with the two tabs: Preview & Tools and Result.
The Preview & Tools tab displays a quick preview of the selected page/spread. This is where the main work with the album takes place: adding photos, design elements, inscriptions, etc.
The Result tab shows the full size rendering of the page after processing.
Switch between the tabs by clicking the tab name. Also, to display the full scale high-resolution result for the page, click  .
.
To the left of the Image Window there is the Toolbar:
Transform  . The tool allows you to move, rotate and resize elements on a page.
Text  . The tool allows you to add text.
Zoom  . The tool allows you to change the scale of the image.
Hand  . The tool allows you to scroll the image when it does not fit within window at the desired scale.
 - The button opens the Elements panel with all elements added to the selected page.
At the bottom of the program is the Design Panel with tabs:
The Pages tab displays the pages of the selected album.
Click  to change the number of pages in the album.
Click  to remove the selected page spread from the album.
The Photos tab displays the photos loaded into the program.
Click  to open photos into the program.
Click  to choose a folder with images to load into the program.
Click  to remove the selected photos from the program.
Click  to clear the list of loaded photos (excluding those already added to the album).
The Decorations tab contains a set of pictures (cliparts) that will help diversify the look of the pages. By default, it shows the items loaded with the selected theme.
Click  to add custom cliparts.
Click  to choose a folder with custom cliparts.
Click  to remove the selected cliparts.
Click  to clear the list of loaded cliparts (excluding those loaded with the theme).
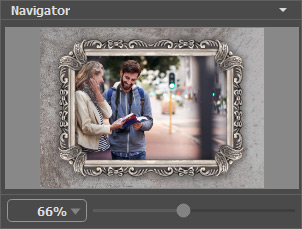
Navigate and scale the image using the Navigator. The frame in the Navigator surrounds the area of the image which is visible in the Image Window; the area outside of the frame will be shaded. The frame can be dragged, thereby changing the visible portion of the image. To move the frame, place the cursor within it, left-click, and drag.
 Navigator
In the Navigator, use the Scaling slider to scale the image in the main window. When you move the slider to the right, the image scale increases. When you move the slider to the left, the image scale reduces.
You can also change the image scale by entering a new coefficient into the scale field. The fall-down menu shows some frequently used coefficients.
Hotkeys to increase the image scale: + and Ctrl++ in Windows, ⌘++ in Mac; to reduce the image scale: - and Ctrl+- in Windows, ⌘+- in Mac.
To scroll the image in the Image Window, you can use scroll bars or press the spacebar on the keyboard and drag the image with the left mouse button. Use the scroll wheel of the mouse to move the image up/down, by keeping the Ctrl key pressed – to the left/right, by keeping the Alt key pressed − scale the image. Right-click on the scroll bar to activate the quick navigation menu.
Under the Navigator there is the Settings Panel with the tabs: Elements, Album, Page.
- The Elements tab contains options for the selected design element.
- The Album tab includes settings of the entire album.
- The Page tab has settings for the selected page/spread.
When using the Text tool, the Settings Panel displays the options for the selected text block.
